The making of a sampler – From start to finish


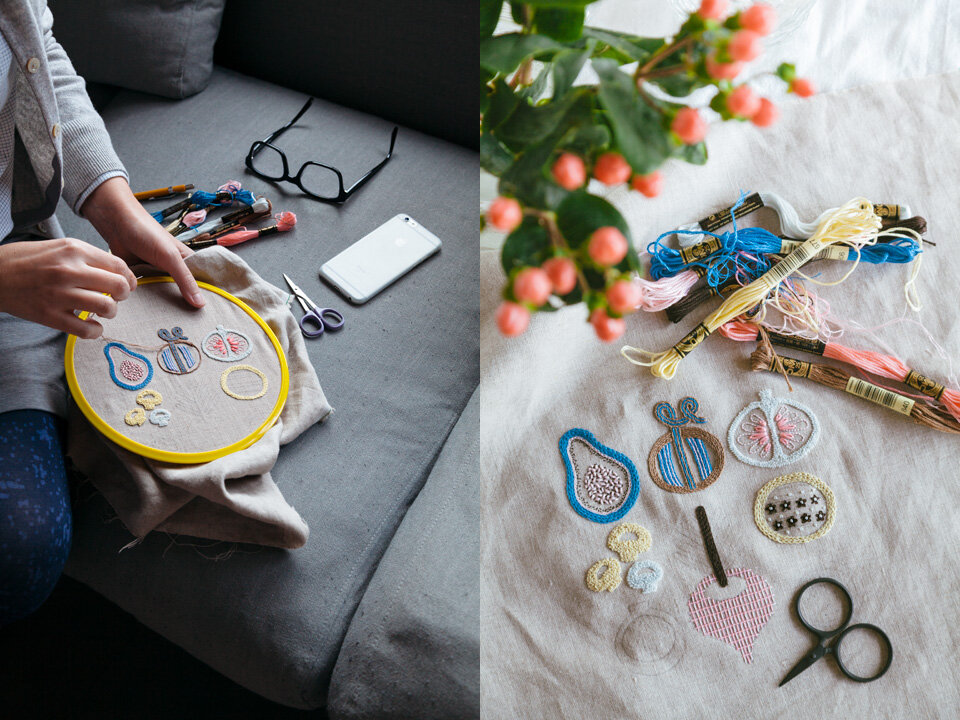


Next time you feel your embroidery is taking too long, remind yourself that embroidering is more of a marathon than a sprint. It requires a lot of training and several stages until you cross the finish line. I've outlined the timeline I followed for this fruit sampler—the whole run took me around 40 days!
Motif
I used a design I had created years before for block-printing. The clean lines and geometric shapes offered enough surface for practising and allowed to render each fruit freely in the stitch's own language. Tip: Out of ideas? Check the patterns in your upholstered furniture, pillow covers, totes and see which ones you can use for embroidering.
Colour
I visited the Design Episodes exhibition at the Art Institute of Chicago and immediately loved the colours of this bold teapot (Fleetline by Peter Shire for Memphis). I took a picture and kept it for my reference (I can't resist a combination with blue, pink and neutrals). Tip: In my book Colour Confident Stitching you can find a step-by-step guide to capture and use colours from inspiring sources.
Stitch plan
Using an outline of the motif, I decided on the stitches I'd use in each section and the direction they'd take. I considered the texture each stitch brought into the composition and positioned them so as to get a balanced piece.
Tracing
I cut out the motifs from thick paper with a fine utility knife; I then use every cut piece as a stencil or template to trace the whole design (this helps to keep a clean line when tracing on fabric as compared to doing it freehand).
Stitch sequence
If I'm teaching, the order goes from easiest to most complex. For other cases, I start with flat stitches and leave more textured or delicate ones for the end or start with stitches from background shapes and move toward foreground elements.
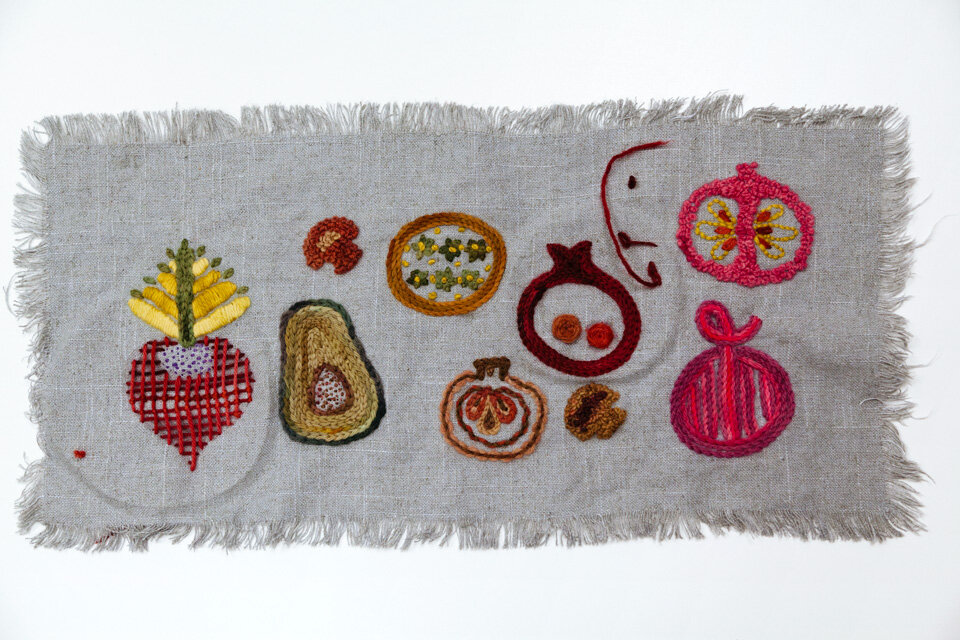
Ready to go? See how my students did with the sampler! Some of them finished almost in time while others took a slower pace. One of them complained that stranded and pearl cotton were too thin for her to see and stitch comfortably. So I suggested that she blew everything up: use wool yarn instead of embroidery floss and stitch the enlarged motifs on an open weave fabric (such as linen) so she could work at a totally different dimension. And it worked!